
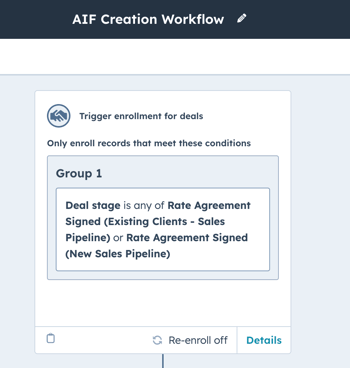
- The AIF Creation process begins immediately after a Rate Agreement is signed and the deal is automatically moved to the "Rate Agreement Signed" deal stage.
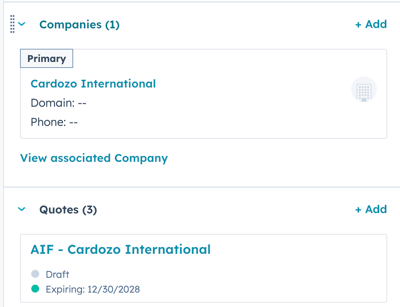
- Once the AIF is created, it will appear in the Quotes section of the deal in draft mode with the following naming convention: "AIF - Deal Name". Click the draft AIF document in order to review the details and ensure everything is correct.
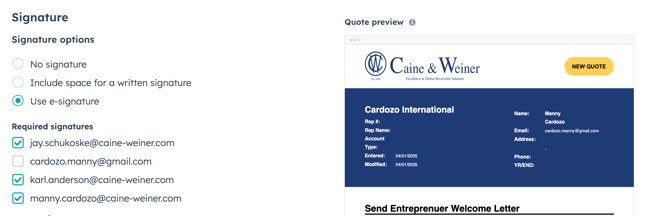
- Make sure that the client AND the three C&W representatives that will be signing the AIF are all checked in the Buyer Information section.
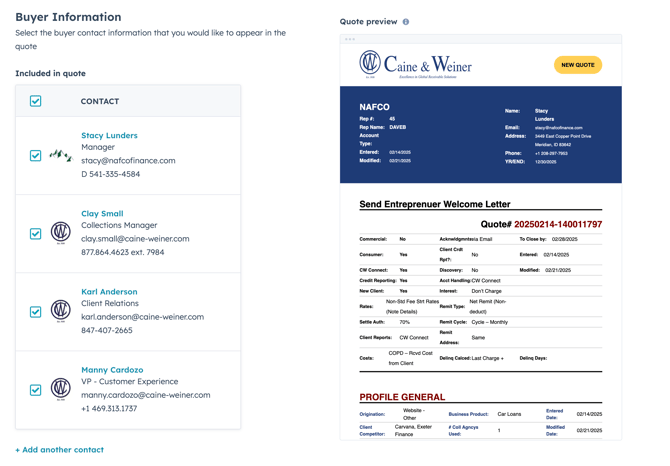
NOTE: If the client IS NOT checked in the "Buyer Information" section, the client's name and email address WILL NOT populate in the AIF template.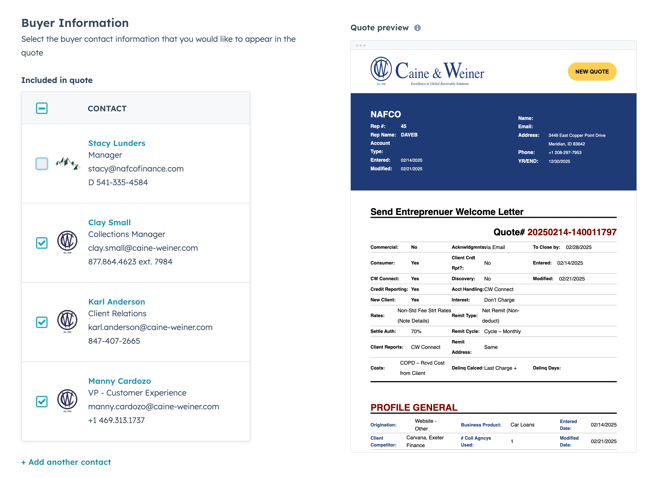
- On the "Signature" page, confirm that ONLY the internal C&W representatives are checked as "Required signatures". On this page the client on the AIF SHOULD NOT be checked, as they WILL NOT be signing the AIF.
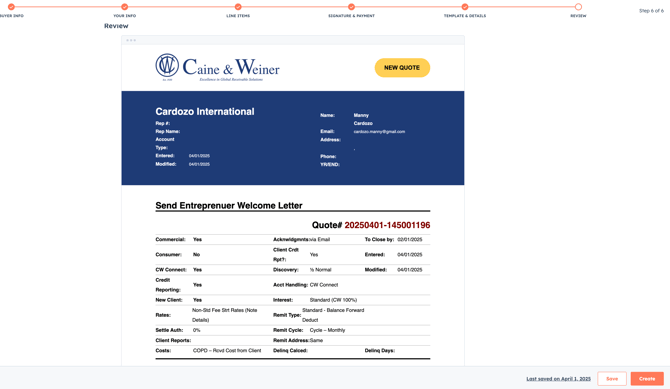
- Complete a final review of the AIF document to ensure that all data points are populating in the template and that everything is correct. If correct, click the "Create" button.
- Upon creating the AIF, the appropriate C&W signers will be notified via the "AIF Created - Signature Required Notification Workflow"
NOTE: If a C&W representative is manually added to the AIF, you will have to manually send them the link to the AIF document, as they will not be notified automatically via the "AIF Created - Signature Required Notification Workflow".